Microsoft Word 2007 - Mail merge
Open the Mail Merge Wizard.
1. Click Mailings and then Start Mail Merge
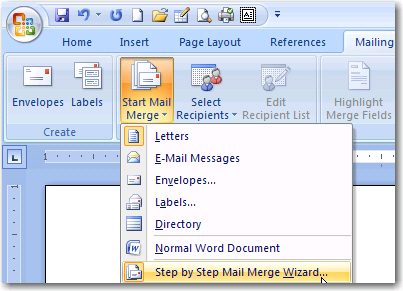
2. Select the Step by Step Mail Merge Wizard from the drop down menu.
A new panel opens on the right hand side of the screen.
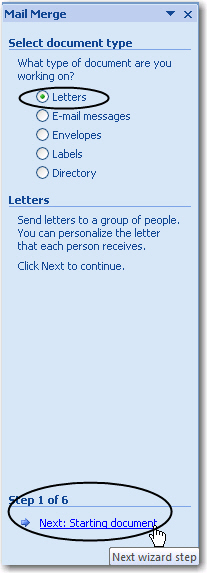
3. Select the type of document you wish to create (letters has been selected in this example).
4. Click on Next: Starting Document (the blue link at the bottom of the panel) to go to the next step.
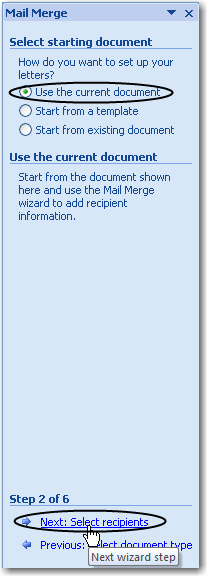
5. Select Use the current document then click on Next: Select recipients at the bottom of the box.
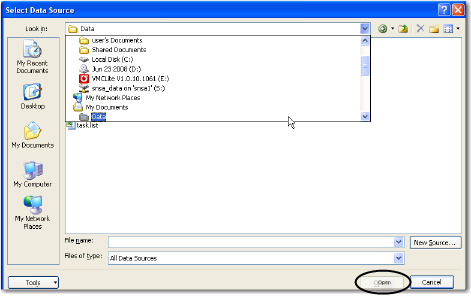
6. Select the option Use an existing list. Browse to the data file that you typed previously.
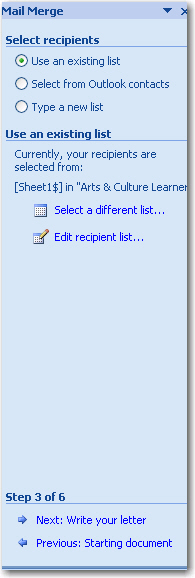
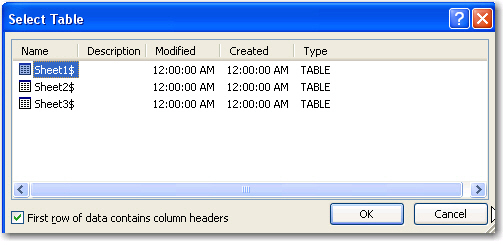
7. You will be asked to select a table. Basically select the sheet in which your data has been typed. In this example it is sheet 1.
Click OK
8. The following box appears:
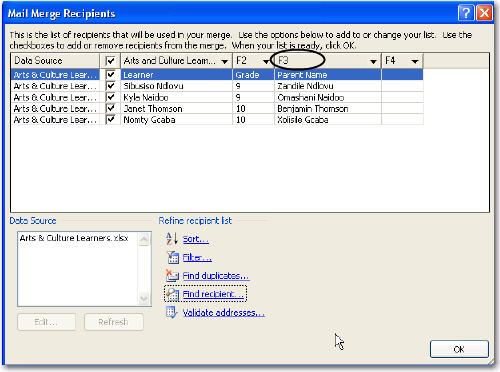
You can sort and select information for the merge. Click OK to continue.
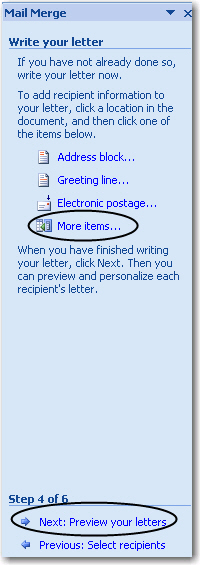
9. Go to Next: Write your letter. Here, you will type the information that will be the same in every letter. Where an item is unique to each recipient, insert the relevant item.
Click More Items...
The following box appears:
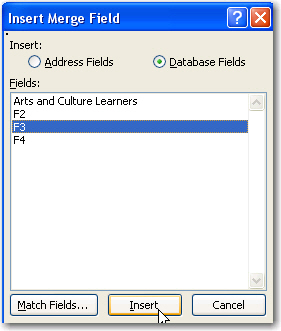
10. Select the item that should appear in the letter and click Insert. Click Close to continue typing the letter.
Go to Next: Preview the letters.
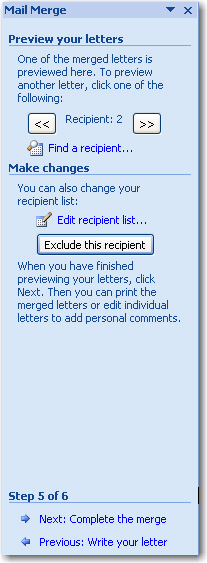
You can page through the letters to see each person's details are inserted.
Click Step 6: Complete the Merge
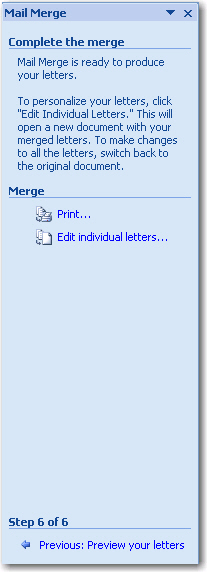
Click the option to print your letters. The following box appears:
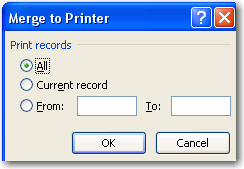
Select the print option you require, and click OK.
All Rights Reserved.