It is possible to change the colour of clip art and to remove, move, separate or add various components to the clip art. Here are a few pointers to who to go about this. This only applied to some clip art, but you will soon know if it is applicable to clip art with which you are working.
To change the colour of various elements
1.
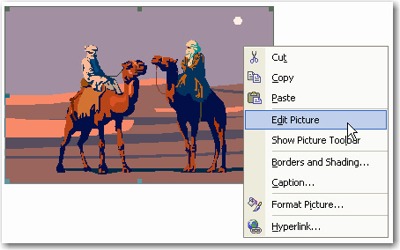
Right click on the clip art image.
You will see a pop-menu appear.
Click on Edit Picture.
2.
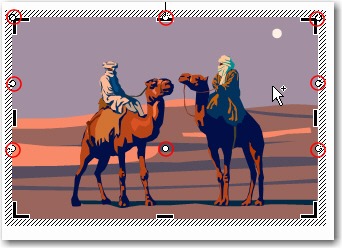
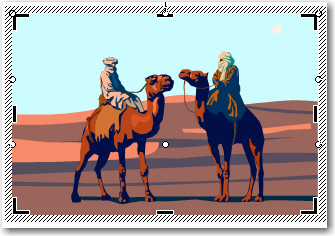
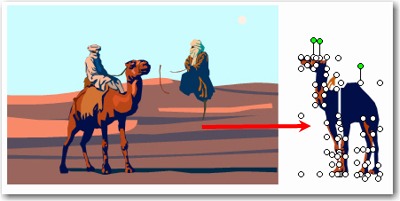
You should then click on the part of the image that you wish to edit.
In the example to the right we wish to change the colour of the sky.
Notice the 8 white circles indicating the active selection.
3.
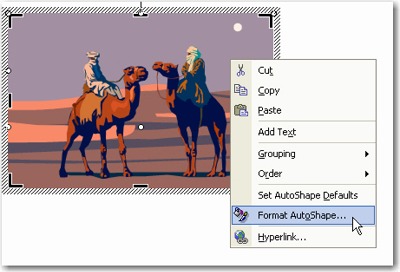
Right click on the selected area.
Click on Format AutoShape.
4.
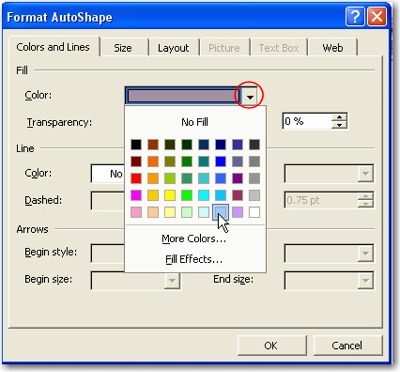
Click on Colous and Lines.
5.
Select a new colour by opening the colour panel (click on the black down arrow to the right of the colour panel).
Select the new colour and then click on OK.
6.
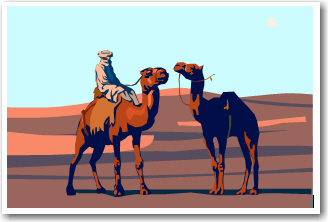
Notice that the sky colour has changed.
To remove / move / copy elements of a clip art image
1.
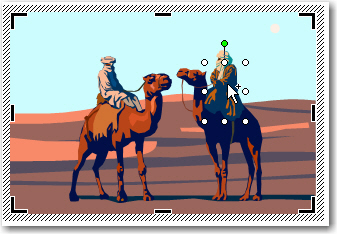
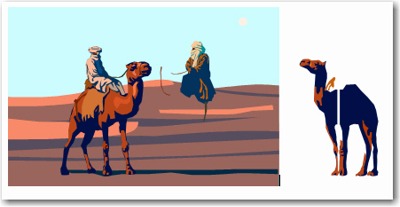
In this example we will remove the rider of the second camel.
Click on the part of the image that you wish to remove.
Press the Deletebutton on the keyboard.
2.
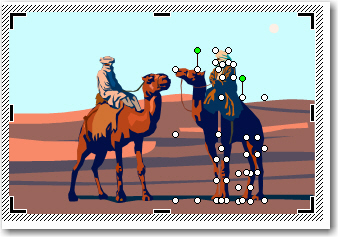
Repeat Step 1 until all the little parts have been removed.
3.
If you depress the Shift key on the keyboard while clicking many components one after the other, you can select many component simultaneously.
4.
After clicking all the elements of the camel, you can click and drag it to a new location.
5.
We have now created a new clip art image of a camel and we will discard the remnants of the original clip art image.