Clip Art refers to a collection of sketches and images supplied by Microsoft on the installation CD for Microsoft Office. These are free of copyright restrictions and you can use them freely in your documents.
Insert Clip Art
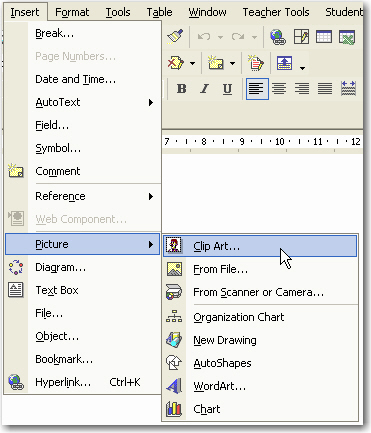
1.
Click on Insert | Picture | Clip Art using the Insert menu at the top of the page.
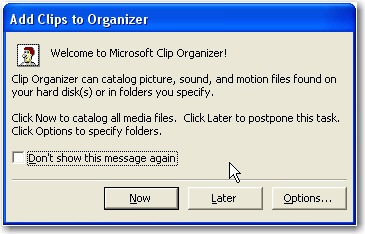
2.
If you have never used Clip Art before you will see an offer to organise your Clip Art. If you have time, click on Now.
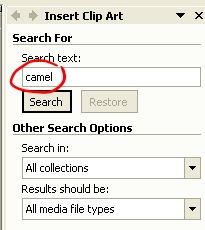
3.
Type in the keyword of Clip Art for which you wish to search.
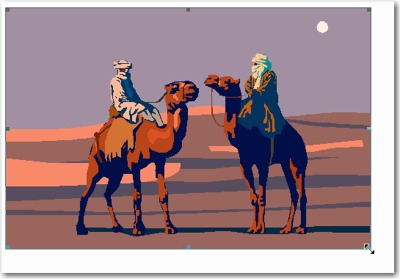
In the example to the right you will notice that we entered the word "camel".
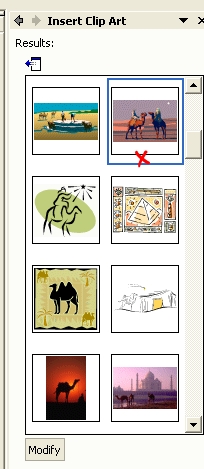
4.
Word searches and displays thumbnails sketches of each available Clip Art image.
Select one by clicking on the image - notice the X indicating the image that we have selected.
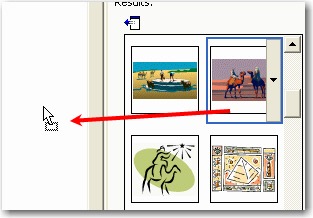
5.
One option for inserting the Clip Art is to click and drag it to the left, onto your page.
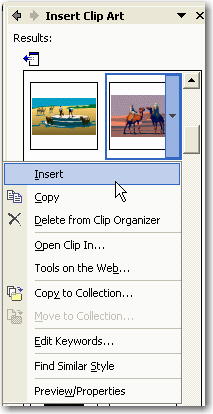
6.
The alternative option is to click on the down arrow to the right if the clip art image.
Then click on Insert.
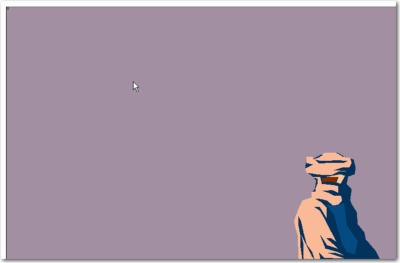
7.
You may find that the clip is too big for the page. If this is the case, proceed to step 8 below.
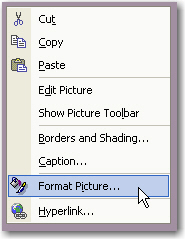
8.
Right click on the clip art. A pop-up menu will appear.
Click on Format Picture.
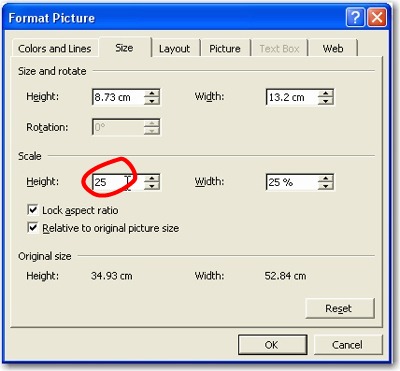
9.
Reduce the Scale | Height to a percentage of the original. 100% is he original size. We have reduced it to 25%, that is a quarter of the original size.