Microsoft Excel 2007 - Selecting areas of data
Because a spreadsheet workbook is arranged in columns and rows (resulting in many cells) you are able to select and format specific cells, rows or columns on their own or in groups. This tip sheet briefly summarises the main ways of doing this.
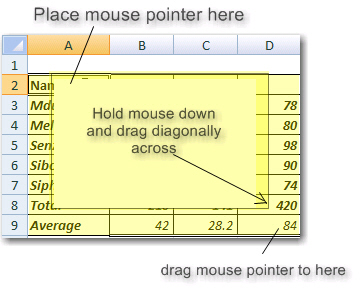
This is done in the familiar way by clicking the mouse button and dragging the pointer across the screen to select the area of your choice:
Click and hold the mouse button.

To select an entire column or row:
Place the mouse pointer in the column
(or row) indicator - see the example circled below.
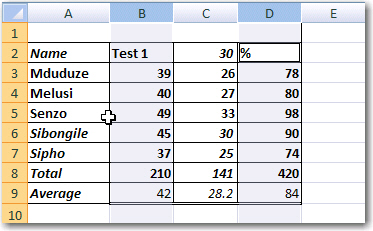
Click on the column indicator (on the D in the column below).
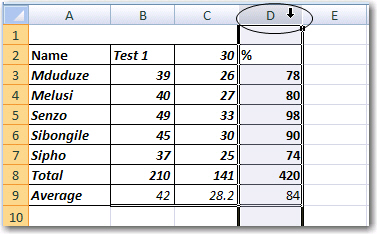
The whole column is selected:

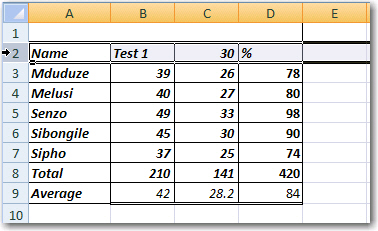
Similarly, you could select a whole row (row 2 below).
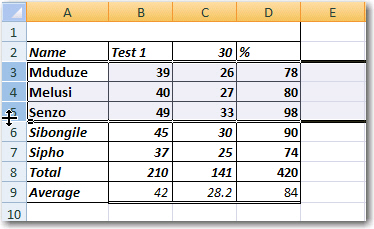
Note: you could click and drag the mouse in the selector column (or row) to select a range of consecutive (next to each other) columns or rows (see below).
To select separate columns (or rows):
The process of selecting is the same. To select more than column or row that are not next to each other, do the following:
Select the first area (Column B in the example below)
Press the Ctrl key on the keyboard
and keep it pressed down
Select the second area (Column D in
the example below), and so on.
All Rights Reserved.