Microsoft Excel 2007 - Printing
With a spreadsheet you do not always print the whole document as you would in a word processor, for instance. You will quite often first select a part of a workbook and then choose to print that selected part. Furthermore, since a spreadsheet's workbook is an electronic sheet which is much bigger than an A4 piece of paper (as found in a printer), it is always advisable to first preview your print result before choosing to print the selection.
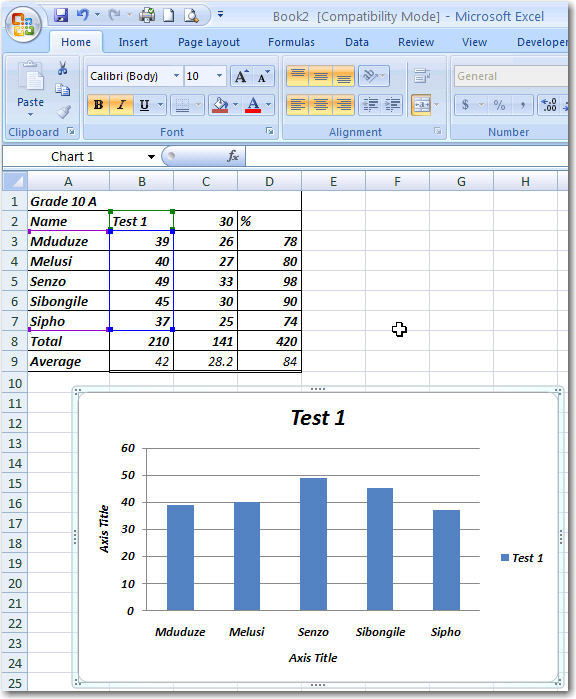
First Select that part of the workbook that you would like to print (see image below)
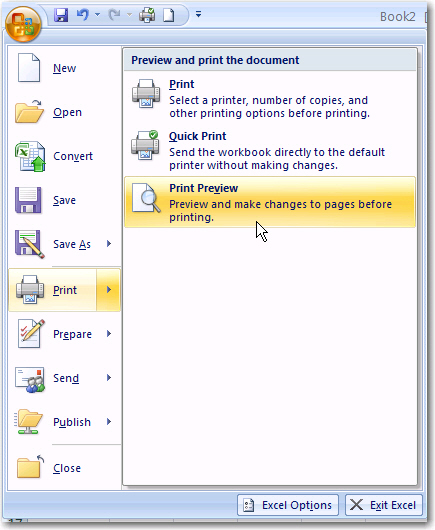
Click on File
Click on Print Preview
or
Click on the Print Preview
icon ![]()
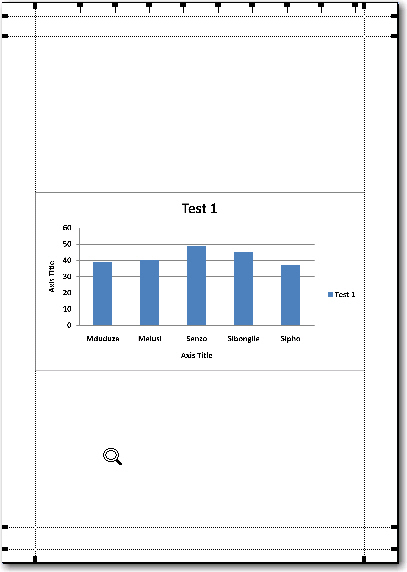
The following page typically appears:
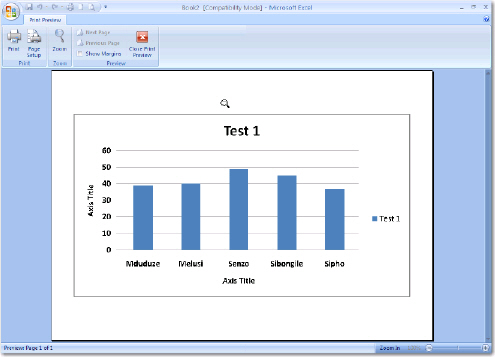
If the selected text/graphic appears on the preview screen and you are satisfied with the previewed result, click on the Print button.
However, if you find that some information does not appear on the page. One has several options for changing the page before printing.
- change the margins
- change the page orientation (portrait to landscape)
- reduce the column widths
- decrease the font size of data
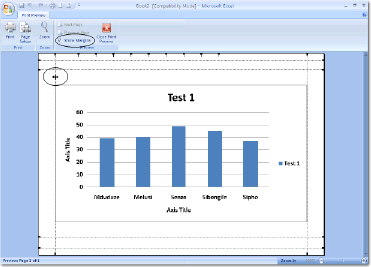
To change the margin widths:
On the Print Preview page, click
on the Margins button and move the
mouse pointer to the dotted lines representing the margins that you want
to change. A double arrow ![]() appears (circled in the image below). Press the left
mouse button and keep it down. Drag the margin to the width
you want.
appears (circled in the image below). Press the left
mouse button and keep it down. Drag the margin to the width
you want.
To change the page orientation:
Click on the Setup button, or choose Page Setup from the menu.
Click on the white dot next to Portrait to change the page orientation .
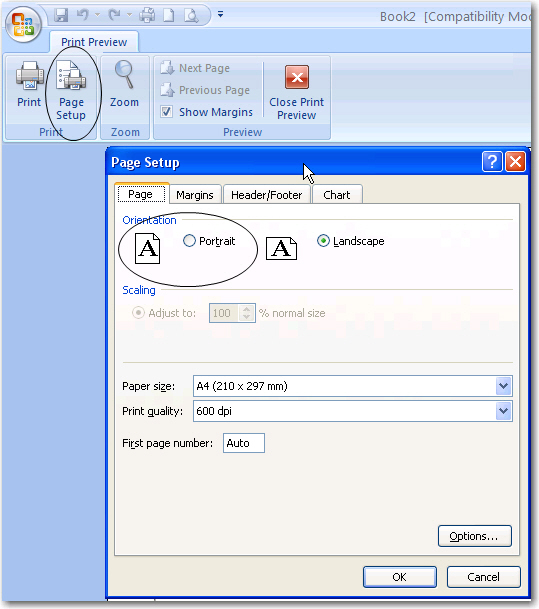
The resulting page is orientated vertically (we call this kind of orientation portrait - see below)
If you have managed to do the Print Preview, this will be easy.
Select the area you want to print. If you want the whole data area of the workbook to be printed, you do not have to make a selection. Then...
Either
Click on the Print button on the Print Preview page
or
Click on Print icon ![]() on the shortcut menu
on the shortcut menu
or
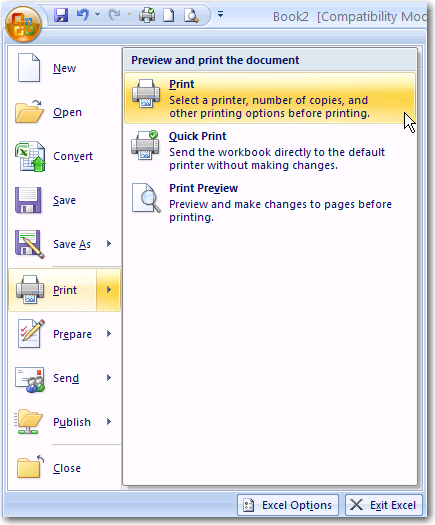
Click on the Office button![]()
Click on Print
All Rights Reserved.