Tip Sheet

Microsoft Excel 2007- Creating borders


Creating borders in Excel

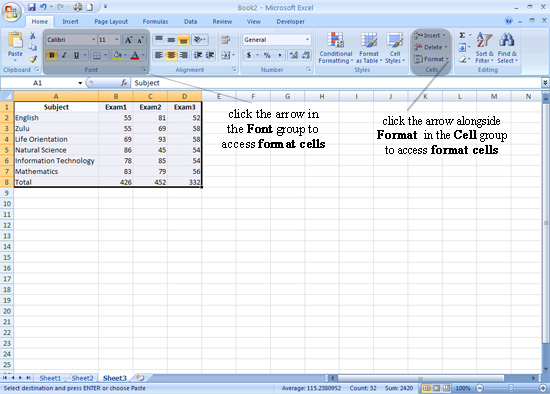
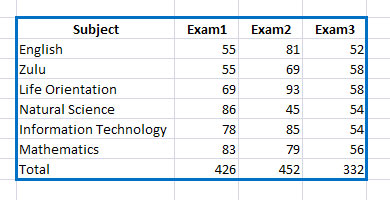
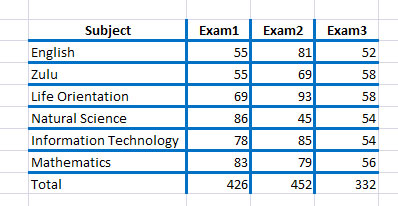
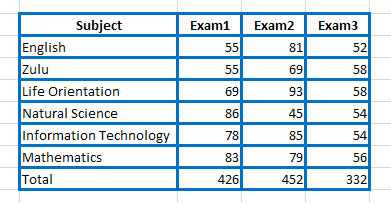
By default, cells in Microsoft Excel do not have borders. This means that when you print from Microsoft Excel, the data will be printed without any separating lines. Borders for cells, or cell ranges, can be created and edited.

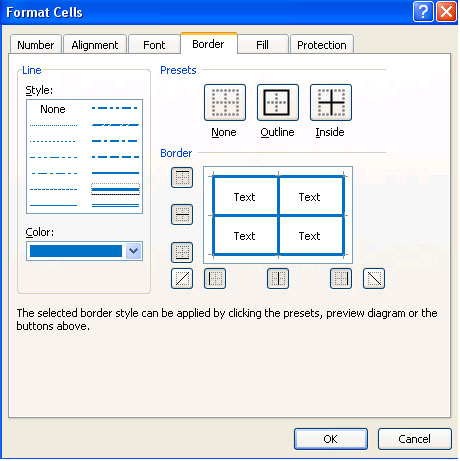
To create a border for a group of cells:
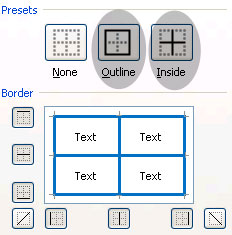
1.

Select the cells.

2.

There are two ways to Format cells


In the Font group you can select the arrow which will open the Format cells window

or

In the Cells group you can click the arrow and then select Format cells at the bottom of the task pane that appears.

3.

Click the Border tab.

4.

Select the required line style from the Style box.

5.

If you want to change the color of the borders, select a color from the Color drop-down list.

6.

Select a border style from the Preset and Border selections.

.

Did You Know?

You can use the None button in the Presets section to remove borders.

  • Outline - adds a border to the outline of the selected cells.

  • Inside - adds borders to the cells in the selection, but not to the outline.

7.

Click OK

The selected border options will be applied to the cells (Here we have selected the Outline and Inside Presets).

Note:

You can also use the Borders icon in the Font group. Select a border type from the drop-down list. The line style and the color will be automatically selected by Microsoft Excel.


Copyright Microsoft, SchoolNet SA
All Rights Reserved.