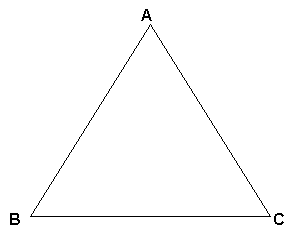
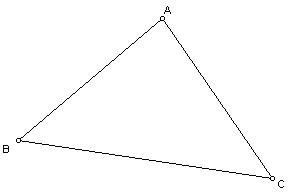
|
Before
you start you should open the drawing toolbar by clicking on:
>View
>Toolbars >Drawing.

Method 1: using MS Word
- On the drawing toolbar, click AutoShapes. Click
Basic Shapes and choose a triangle
- Drag (click, hold down the button and then move
the mouse) the handles (the little squares at the corners) to make
the triangle the shape you want. (If your Drawing toolbar is not visible,
click on View in the top toolbar, then Toolbars, then tick the Drawing
toolbar.)
- Draw a text box near one of the vertices.
- Format the text box to remove the line and fill
colour ( Click on Format in the top toolbar, click on Format Textbox,
then on Colours and Lines, and set the line colour to white). The
text box will then become transparent.
- Change the font to Arial or some other suitable
san serif font.
- Copy the textbox to the other vertices (Select
the text box, then hold down the ctrl key and drag is probably easiest).
- Type in the labels.
- Shift select labels and triangle. (Hold down the
Shift key, and then click on the triangle and then each text box in
turn.) Group the textboxes and triangle so that it stays in one place.
(Right click inside the triangle, and on the pop up menu, click on
Grouping, click on Group.)
- Format the new object and choose the wrapping
that you want. (Select your new triangle – which is now called an
object, and click on the Format menu at the top. Under Object, click
on Layout – this will give you the various options of how the object
is placed in relation to your text. Word defaults to in front of text).
Method 2: Cut and paste from Sketchpad
If you have Geometer's Sketchpad:
- Draw the figure in Geometer’s Sketchpad.
- Select the figure in Sketchpad
- Copy and paste into Word.

|